Check your printer settings with a calibration page first. Physical printing varies by device; the screenshots below show the actual local tool, not a printer dialog or a finished print.
Start with the original
Choose the highest-resolution source available. A compressed screenshot may show visible softness when enlarged.
Review estimated PPI
PPI depends on the decoded image pixels and the physical size of the scaled image, not the number of sheets.
Consider viewing distance
A poster viewed from across a room can look different from one examined close up. PPI is guidance, not a print-quality guarantee.
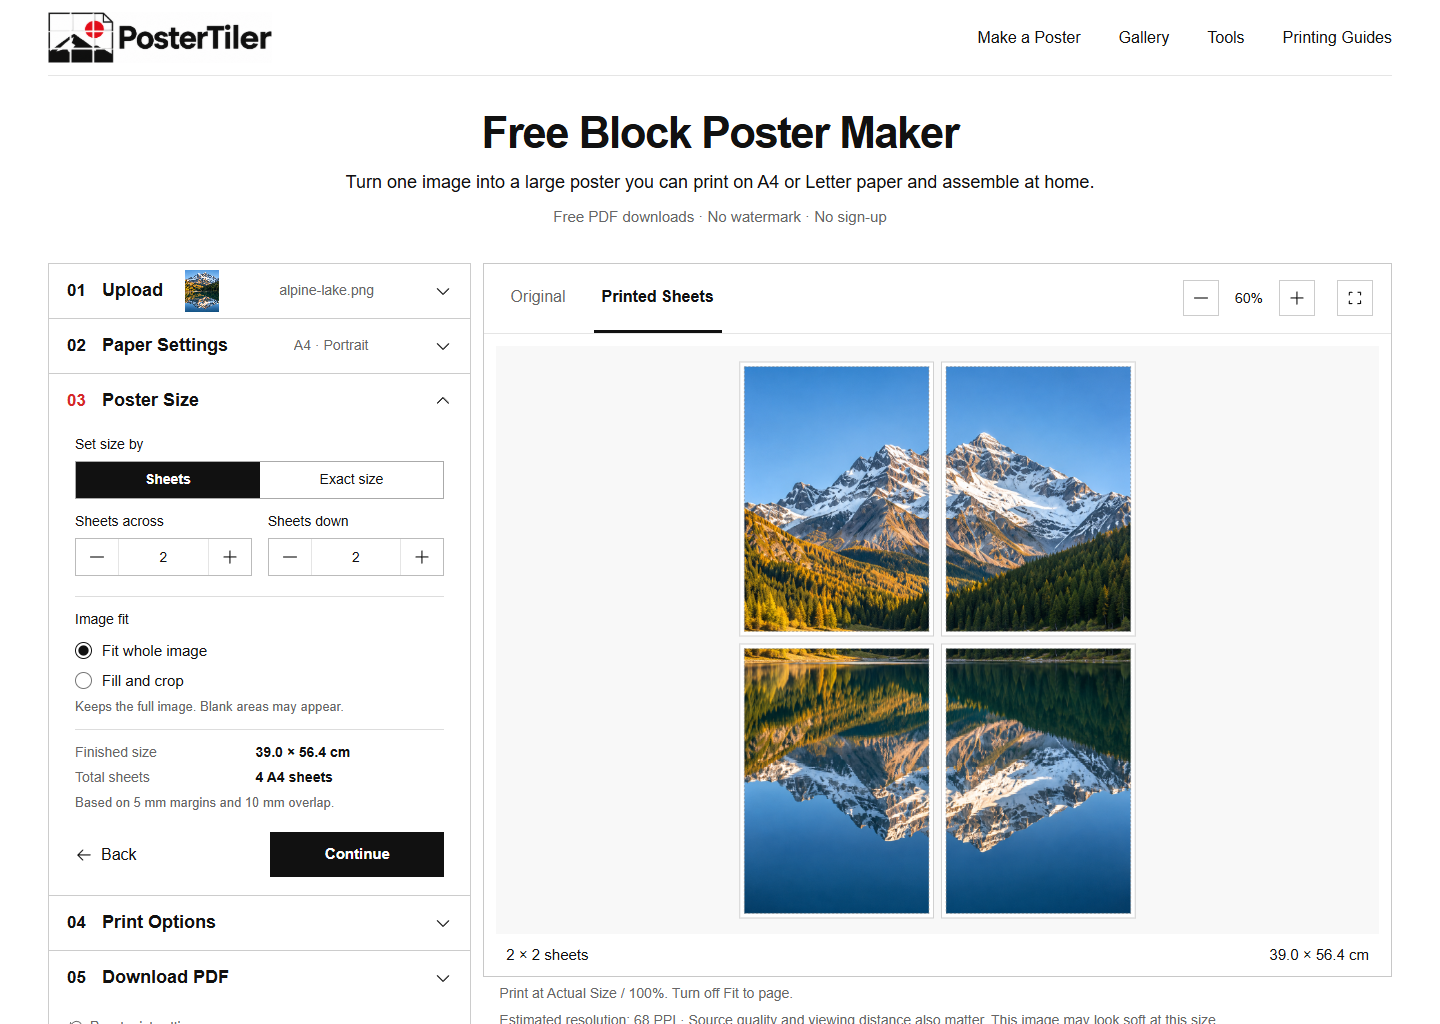
Test an important area
Print a representative page at 100% before committing to the whole poster. Choose a smaller poster or better source if needed.
Before printing every sheet
Print the calibration page and a representative adjoining pair first. Check scale, image quality and alignment.
Common mistakes
- Treating additional paper sheets as additional image detail.
- Assuming that Fill increases resolution. It scales and crops the original image; the preview reports the resulting PPI.
Frequently asked questions
Is one PPI value a guarantee of a sharp print?
No. Source quality, compression, print settings and viewing distance also affect the result. A representative test print is the useful final check.
Does PosterTiler use AI to add detail?
The V1 tool does not call an AI service. To improve a soft result, use a better source or reduce the finished image size.