Check your printer settings with a calibration page first. Physical printing varies by device; the screenshots below show the actual local tool, not a printer dialog or a finished print.
Match the paper
Select the same A4 or US Letter size and orientation used for the exported PDF.
Use Actual Size / 100%
Turn off Fit to page, Shrink oversized pages and automatic scaling. Print-dialog names vary.
Measure the calibration line
Print the separate calibration page and measure its 100 mm line with a ruler. If it differs, adjust the settings before printing the poster.
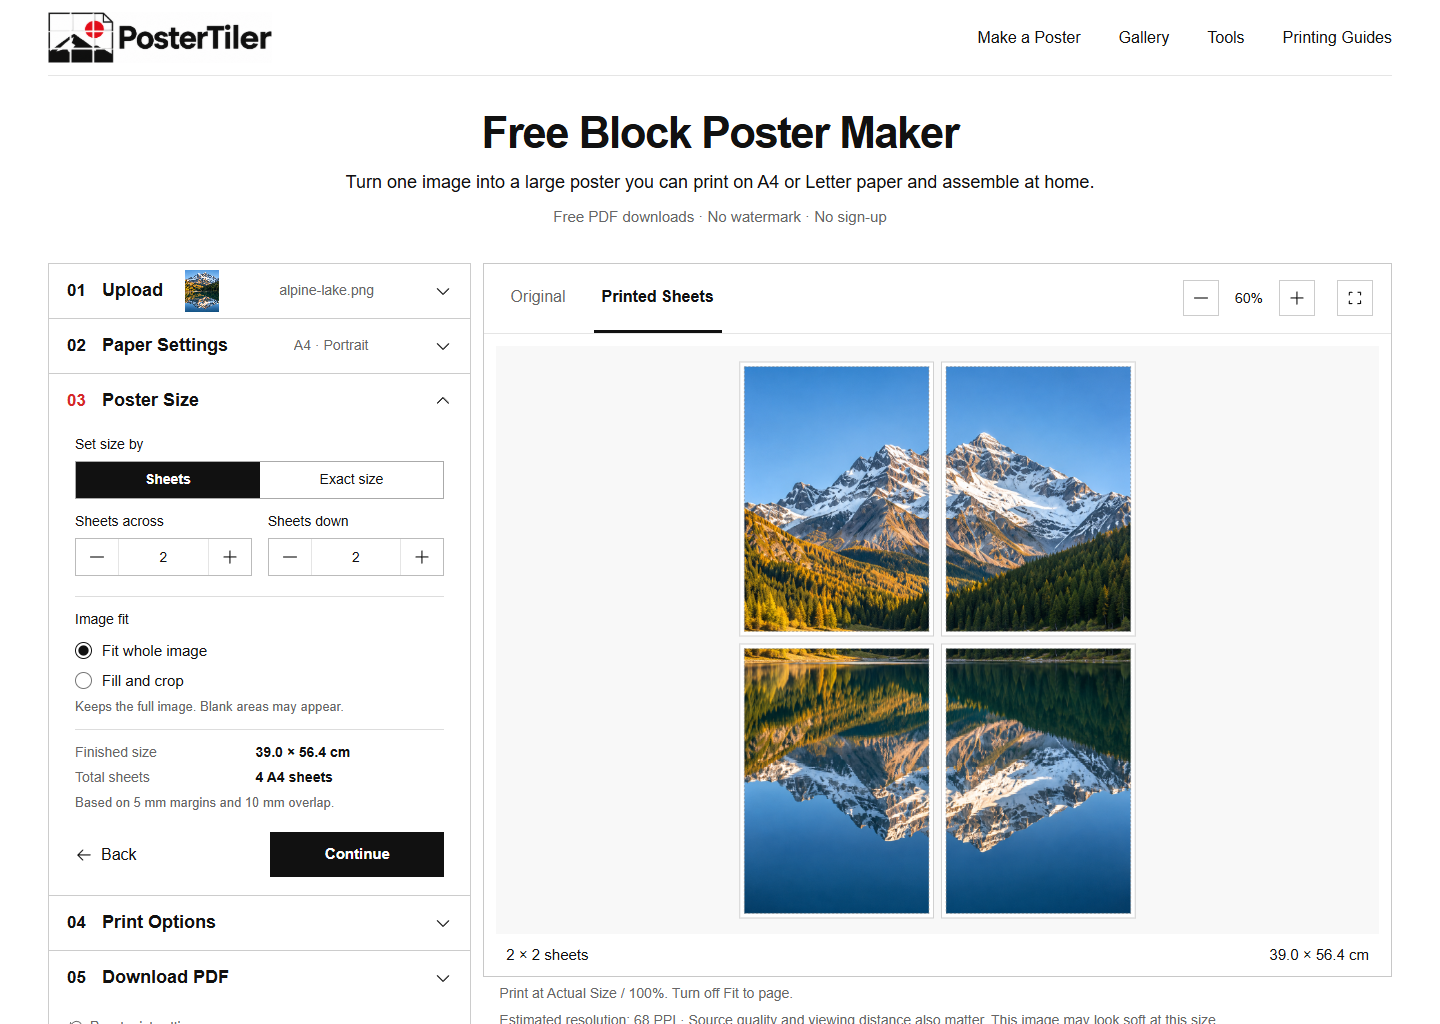
Confirm your printer margins
Check that content near the printable edge is visible. Increase the margins if your printer clips it.
Before printing every sheet
Print the calibration page and a representative adjoining pair first. Check scale, image quality and alignment.
Common mistakes
- Leaving Fit to page, Shrink or another automatic scaling option enabled.
- Checking only the page count rather than measuring the printed calibration line.
Frequently asked questions
My print dialog does not show Actual Size. What can I do?
Try a PDF reader with an explicit 100% or Actual Size option. Dialog wording varies; measure the calibration page before printing the poster.
Will the tool correct my printer automatically?
No. The PDF has defined physical dimensions, but the printer and PDF reader control the printed scale. Use the calibration page to check your setup.