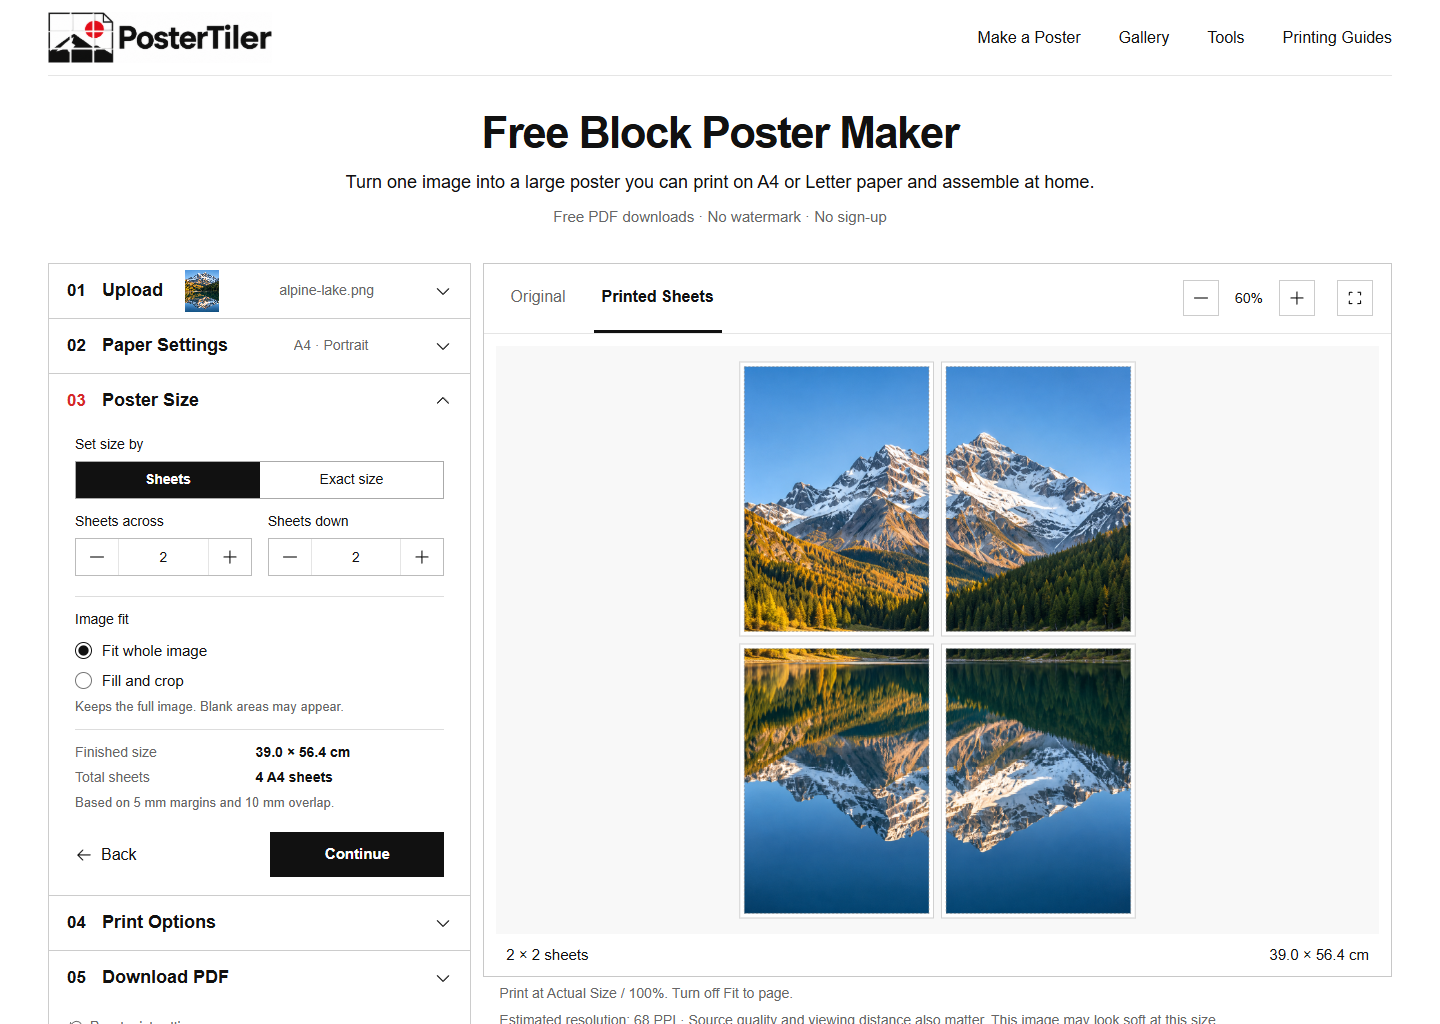
Check your printer settings with a calibration page first. Physical printing varies by device; the screenshots below show the actual local tool, not a printer dialog or a finished print.
Choose an image
Use a JPG, PNG or WebP image you own or have permission to print. Choose a higher-resolution source for a larger poster.
Set paper and size
Match the paper you will use. Leave room for the edges your printer cannot print, then choose a sheet layout or exact finished dimensions.
Review the sheets
Switch between Original and Printed Sheets. Fit keeps the whole image; Fill crops the edges to cover the poster.
Check the scale
Download the separate calibration page. Print at Actual Size / 100%, turn off Fit to page, and measure the 100 mm reference line.
Print and assemble
Download the poster and assembly guide. Use the page labels to arrange the sheets, trim the indicated edges, and align the overlaps.
Before printing every sheet
Print the calibration page and a representative adjoining pair first. Check scale, image quality and alignment.
Common mistakes
- Choosing a small screenshot for a very large poster. Review the estimated PPI and print a representative sheet first.
- Printing the entire PDF before checking paper, orientation and the calibration page.
Frequently asked questions
Do I need a large-format printer?
Use a printer that supports the individual sheet size you selected. The larger poster is assembled from those sheets.
Does making a poster upload my image?
The free tool reads and processes your image in your browser. It does not upload the image or require an account.