
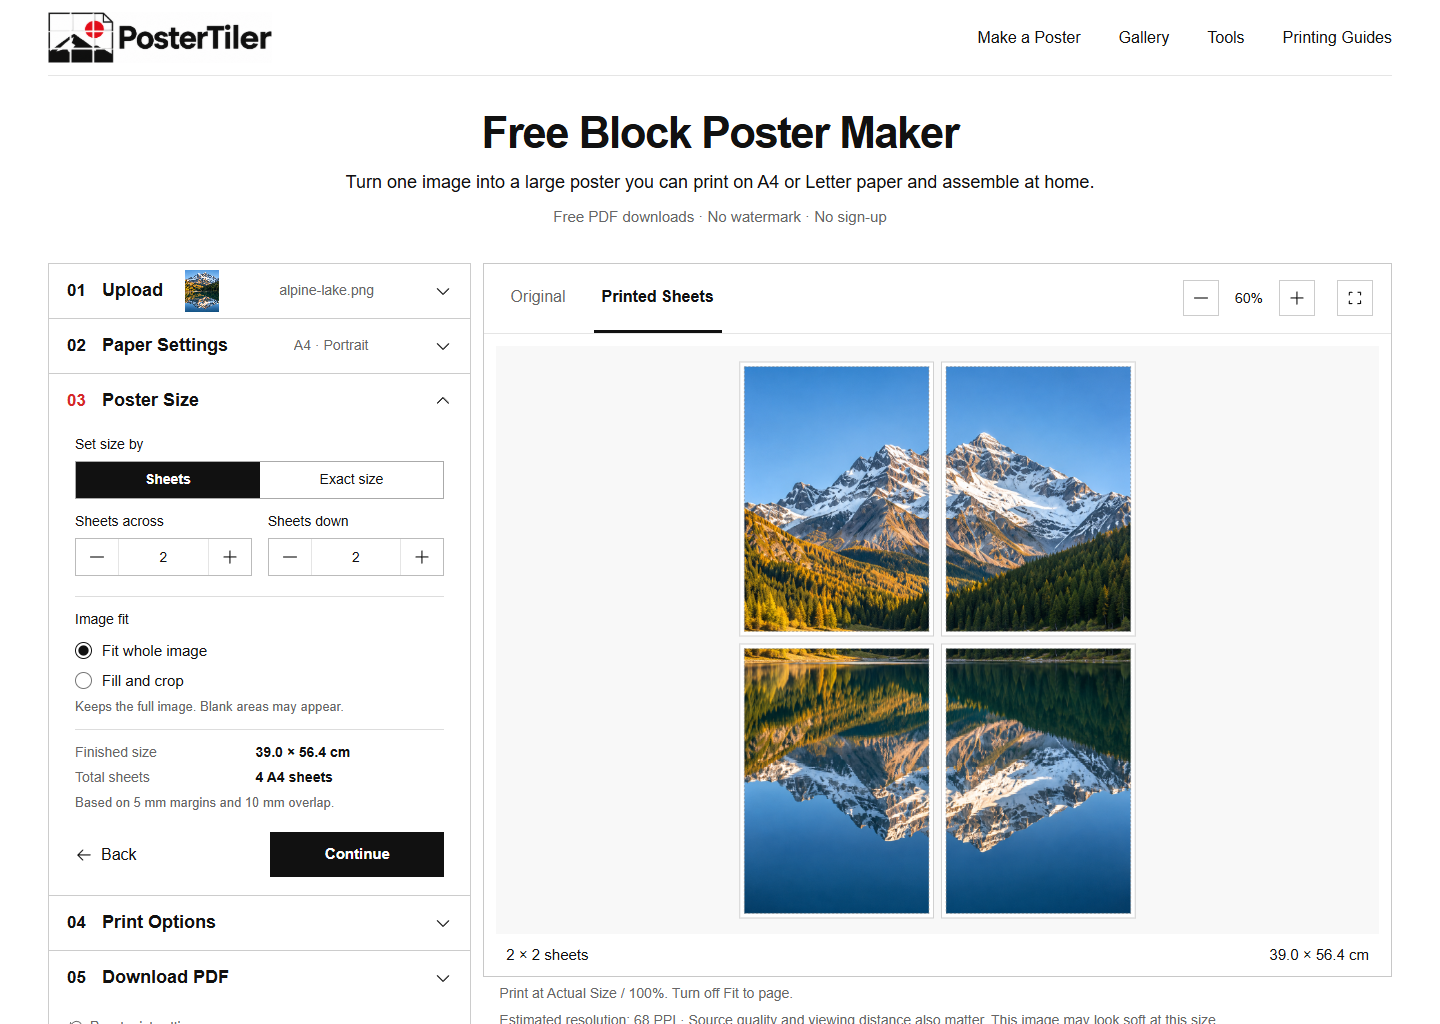
Check your printer settings with a calibration page first. Physical printing varies by device; the screenshots below show the actual local tool, not a printer dialog or a finished print.
Lay out the sheets
Letters identify rows and numbers identify columns. A1 is the top-left page; arrange left to right, then top to bottom.
Trim the joining edges
At internal joins, trim the left white margin of the right-hand sheet and the top white margin of the lower sheet. Check the guide for your actual layout.
Match the overlap
Overlay the repeated image strip until the picture aligns. With zero overlap, join trimmed edges directly and tape the back.
Secure and finish
Tape or mount the joins, then trim the outside to the finished canvas boundary. Keep the assembly map until finished.
Before printing every sheet
Print the calibration page and a representative adjoining pair first. Check scale, image quality and alignment.
Common mistakes
- Mixing up rows and columns. Letters identify rows, and numbers identify columns.
- Cutting away part of the picture needed for a join before checking the overlap and map.
Frequently asked questions
Which sheet goes in the top-left corner?
A1. Use the assembly map for the other positions. A column-first export changes print order, while A1 still describes the same position.
What changes when overlap is zero?
There is no repeated strip to align. Trim the white edges, join the image edges directly, and secure the back. Test an adjoining pair first.